Do you have a factory HID set up for your car’s headlight housing? Do you want instant illuminating, bright white LEDs?
More Importantly, Does Your Car’s Ballast Work?
Our Direct Fit LED Kit is a plug and play option made for vehicles who have a factory HID headlight housing and working ballast. This is because the SaberLED ProX 35W Direct Fit LED Bulbs connect directly to the factory harness of the ballast.
If your vehicle’s ballast is nonfunctional, our Direct Fit LEDs will not power.
All About Quality
It’s 6000K color temperature and a stunning 9000 lumens a pair. It’s durable, all aluminum body, is lightweight with all bulb sizes featuring an aluminum heat sink design. With a powerful fan impeller to cool these bright bulbs, it’s guaranteed to withstand years of daily use and hot temperatures.
The SaberLED ProX 35W Direct Fit LED Kit is available in bulb sizes D1, D2, D3, D4, D5.
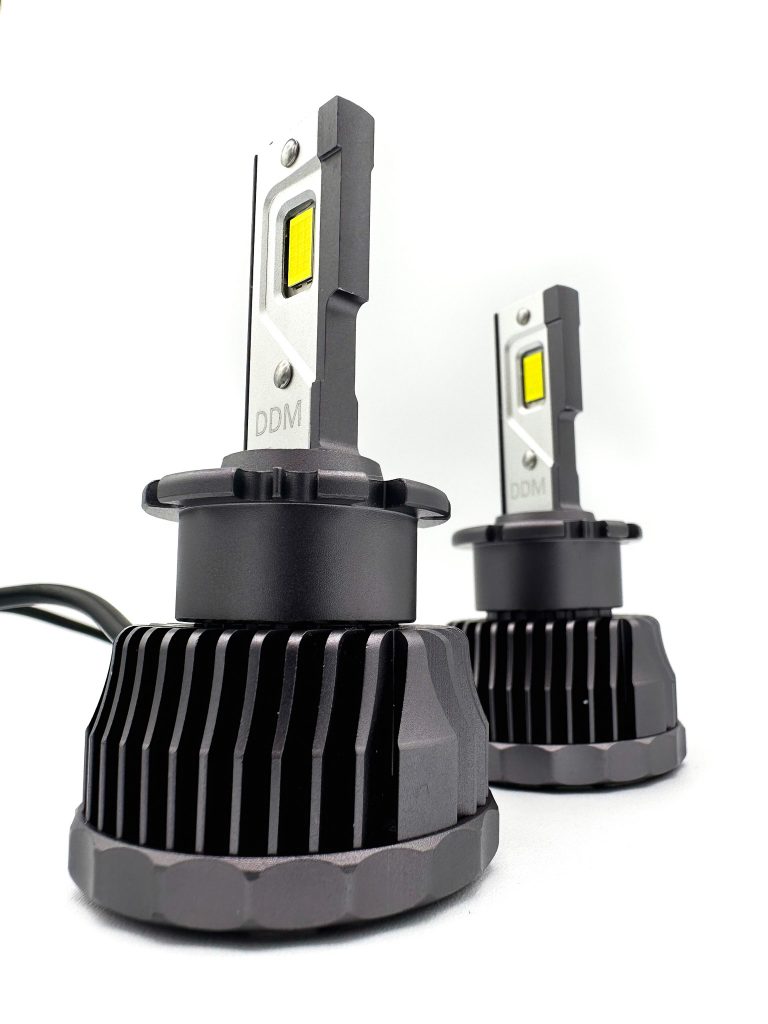
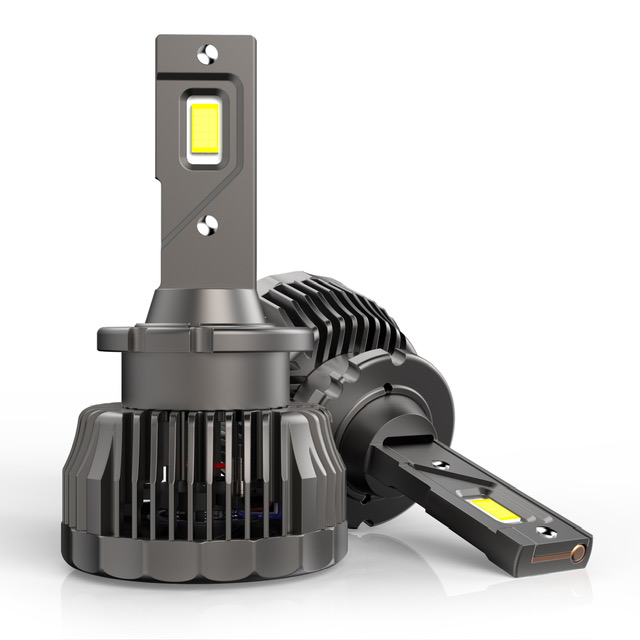
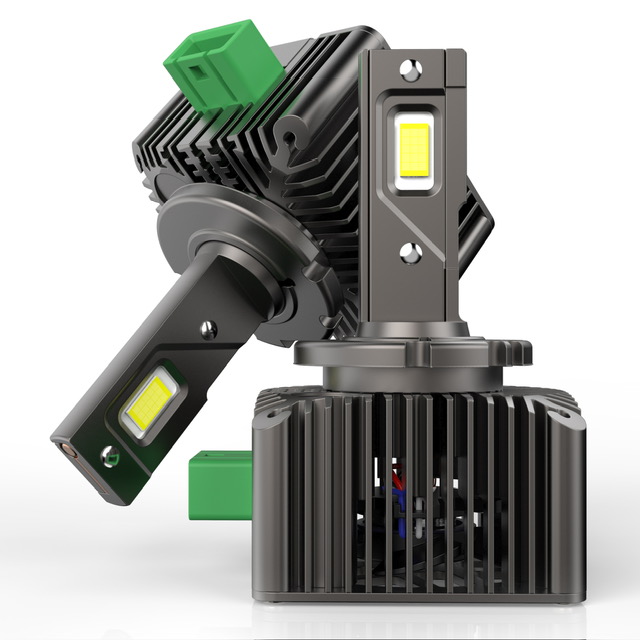
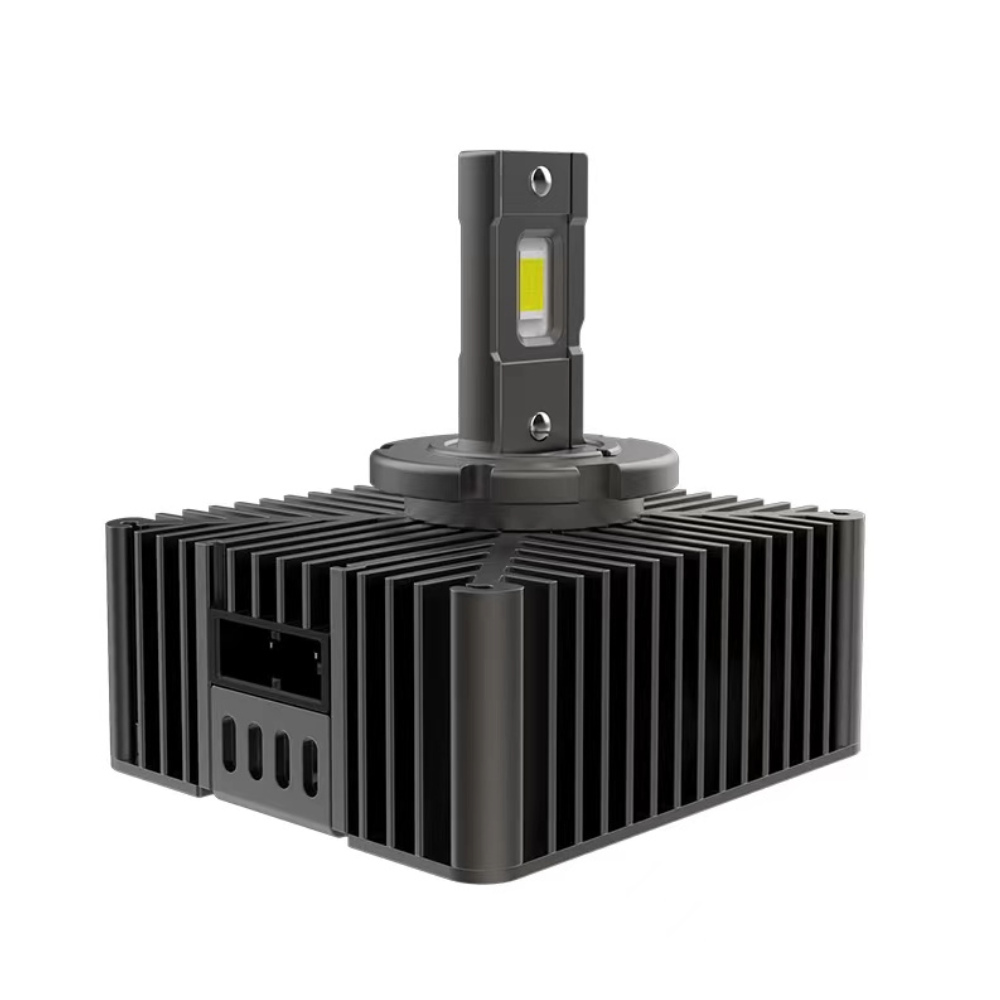
With a 1mm lamp post gap, it’s an ultra precise, non blinding, beam. Maximizing the reflector housings full potential, and projecting a wide beam pattern like an HID (but brighter!). Compared to HIDs, our Direct Fit Kit has a lifespan of 30,000 hours. That’s almost twice the life of a typical HID bulb!
All About Installation
100% compatible with factory D-Series HID ballasts, the SaberLED ProX 35W Direct Fit LED Kit is a hassle-free installation experience with no Canbus issues whatsoever. Directly plugging into the factory harness of the HID ballast, it’s a cost effective plug and play option minus the need for complicated wire splicing.
It’s easy to install! See our step-by-step installation of the SaberLED ProX 35W Direct Fit D2S LED Bulb on a 2001-2007 Mercedes Benz C300 Aftermarket HID, “Depo,” Headlight Housing with Locking Ring:
*our Direct Fit Bulbs are compatible with locking spring setups
1) After removing the HID Bulb. Place the removable LED base into the socket and match the notches for a seamless fit.
2) Place the locking ring over the LED base, matching the notches and turning clockwise to secure in place.
3) With the LED base and locking ring installed, insert the LED inside the socket with the cord facing down toward the floor (“6:00”)*.
*Correctly installed LED bulbs have their chips facing left and right, horizontally. The cord facing down to the floor (“6:00”) indicates correct installation, giving the most accurate (non blinding) beam pattern. Read More Here
4) Plug the LED connector to the factory harness of the ballast by matching the notches and turning clockwise until secure.
5) Tuck the hanging wires into the available space and place the dust cover back.
And, you’re done! Easy LED upgrade in an HID set up– without cutting and splicing!